Bolting Your Gun Safe to the Floor: Easy Guide
Do you need to bolt your gun safe to the floor? Absolutely! You might wonder – why would you do it? It’s simple:
You bolt down your gun safe to the floor for extra security. Anchoring your safe makes it theft-proof, accident-proof, and disaster-resistant.
Whether your floor is carpet, hardwood, or concrete – you should always fix the safe. Follow this guide with step-by-step tips on how to secure your safe without damaging your floor. Plus, we’ll help you dodge common mistakes and plan for the future.
Why You Need to Bolt Down Your Gun Safe
Here’s why anchoring the safe is not only beneficial but also necessary in most cases:
- Enhanced Security: Bolting your gun safe to the floor prevents theft. Unlike a freestanding safe, a bolted one requires time, tools, and noise to break into or move. This often discourages burglars before they even attempt a break-in.
- Accident Prevention: A bolted safe won’t tip over. Stability is key in homes with active children and pets, where a nudge could send a heavy safe tipping. By anchoring your safe, you eliminate the risk of it falling over, which could lead to serious injuries. It also prevents guns from accidentally firing.
- Protection Against Disasters: Natural disasters are unpredictable, but a bolted-down safe stays put. Earthquakes can shake unsecured items loose, and floods can sweep them away. Your belongings are safer during natural disasters.
Bolting down your gun safe is not only important, it is an “must-do” part of making it as effective as it can possibly be (and was actually designed to be). Bolted down safe keeps thieves away, prevents accidents, and protects against disasters. It’s a simple step that makes a huge difference.
Anchoring Helps to Stop Theft
Let’s expand on Enhanced Security. This is how fixing you gun safe to the floor will help you prevent possible theft.
Thieves Can’t Grab and Go: When your safe is bolted, it’s not easy to move. Thieves often look for quick steals. A bolted safe is too much trouble. Big gun safes can be heavy, but this doesn’t always stop the burglars from transporting them away. When it’s anchored though, they can’t do it.
Makes Your Safe More Secure: A bolted safe is much harder for someone to break into it. It’s a common practice for burglars to tip the safe over, as they structural integrity is not the safe with it lying on the side. When they can’t do it, they either have to try and bypass the specially designed protection or leave it.
Peace of Mind: Knowing your safe is securely bolted gives you peace of mind. Your valuables are protected, even when you’re not around.
Before You Bolt: What to Think About
Thinking ahead makes bolting your gun safe easier. Choose the right location, prepare for your floor type, and check the weight. This preparation ensures a smooth installation.
- Choose Location: Choose the right spot. Once bolted, the safe is hard to move. Pick a place that’s out of sight but easy for you to access.
- Consider Floor Type: Different floors need different bolts. Whether it’s hardwood, carpet, or concrete, make sure you have the right tools and bolts.
- Take Size and Weight into Account: Heavier safes might need extra support. Make sure the floor can handle the weight without damage.
Anchoring A Safe For Every Floor Type
As a general preparation you should start by picking the right tools and bolts for your floor. Mark the drilling spots carefully. Then drilling the holes and following the tips based on what type of floor you have.
Bolting Safe On Hardwood Floors
- Choosing the Right Bolts: It’s crucial to select bolts that are strong enough to secure the safe but designed to not split or damage hardwood. Look for bolts specifically labelled for use on wood, which ensure they anchor securely without causing harm.
- Precision Drilling: Before drilling, measure and mark your spots accurately to avoid mistakes. Use a drill bit slightly smaller than the bolt diameter to make a pilot hole. This helps the bolt to fit snugly without cracking the wood.
- Protecting the Finish: When installing a safe on hardwood, it’s important to also think about protecting the floor’s finish. Place a protective barrier, like a thin rubber mat or felt pads, under the safe before bolting it down. This prevents scratches and preserves the beauty of your hardwood floor.
Bolting A Gun Safe On Carpet Floor
- Cutting for Clarity: Begin by cutting a small X where each bolt will go through the carpet. This prevents the carpet fibers from getting caught in the drill bit, ensuring a clean hole for the bolt.
- Choosing Carpet-Compatible Bolts: Select bolts that are long enough to reach through the carpet and padding, securely anchoring into the floor beneath. The bolt length is crucial here; too short, and the safe won’t be securely fastened.
- Steady Drilling: Drill through the marked spots on the carpet, ensuring the drill goes straight down to avoid angling the bolts. This precision keeps the safe level and firmly attached to the floor.
- Securing the Safe: Once the holes are drilled, remove any debris from the drilling process, align the safe over the holes, and fasten it down with the bolts. Tighten the bolts until the safe is securely attached, but be careful not to over-tighten and damage the carpet or floor underneath.
Bolting A Gun Safe On Vinyl and Linoleum
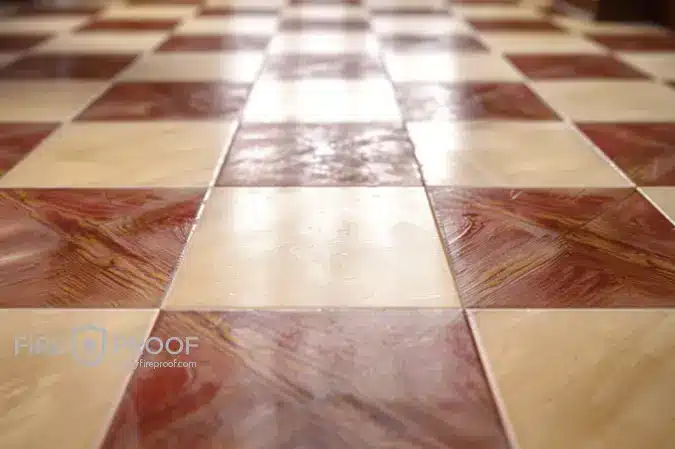
- Selecting the Right Bolts: For vinyl and linoleum floors, use bolts that provide a tight grip without tearing through these smoother surfaces. Anchors designed for multi-surface use, including those with wide threads, ensure a secure fit without damaging the flooring.
- Accurate Drilling: Precision is key to avoid damaging these softer materials. Mark your drilling points clearly and use a drill bit suited for vinyl or linoleum to prevent cracking or ripping. Drilling at a consistent speed helps maintain control and precision.
- Protecting the Surface: Before drilling, consider placing a piece of masking tape over your drill marks. The tape can help prevent the drill bit from slipping and protect the floor’s finish from scratches.
- Ensuring Stability: After drilling, clean out any debris from the holes. When installing the bolts, make sure they’re tight enough to hold the safe securely but not so tight that they cause the vinyl or linoleum to buckle or tear.
Anchoring A Gun Safe On Laminate Floor
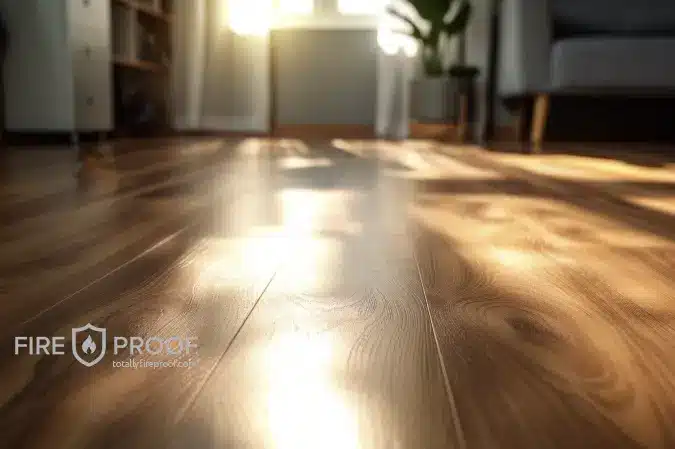
- Bolt Selection Matters: For laminate flooring, it’s important to choose bolts that can anchor securely without damaging the laminate layers. Look for bolts designed for delicate surfaces, which ensure a firm hold without excessive pressure that could crack or split the laminate.
- Drill with Care: Laminate flooring requires gentle handling. Use a drill bit that’s appropriate for laminate surfaces to avoid chipping or cracking. Drilling at a slow, steady pace ensures the hole is clean and the surrounding area remains intact.
- Floor Protection: To prevent any potential damage during the drilling and bolting process, consider laying a protective sheet or pad under the safe. This acts as a buffer between the safe and the laminate, reducing the risk of scratches or pressure marks.
- Firm, Not Tight: When securing the safe to the floor, tighten the bolts firmly to ensure the safe is anchored. However, avoid over-tightening, as excessive force can damage laminate flooring. The goal is a secure fit that doesn’t compromise the integrity of your floor.
Anchoring A Gun Safe to Concrete Floor
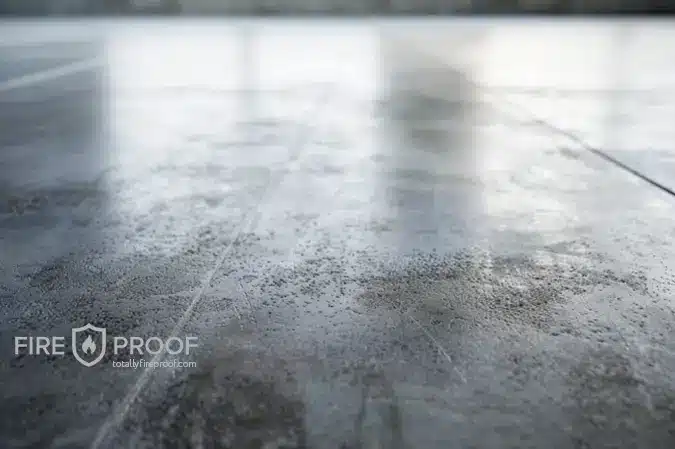
Anchoring a gun safe to concrete is one of the most secure methods available. With the right tools and anchors, your safe becomes virtually immovable, offering maximum protection for your valuables against theft or displacement.
- Choosing Concrete Anchors: For concrete floors, you’ll need specific concrete anchors that can handle the material’s hardness. These anchors expand inside the drilled hole, creating a secure grip that won’t easily come undone.
- Prepping for Drilling: Mark your drill points accurately on the concrete. Use a hammer drill equipped with a masonry bit for efficient drilling through concrete. The hammer drill’s impact mechanism helps penetrate the concrete without excessive force.
- Drilling the Holes: Drill holes at the marked points, ensuring they are deep enough for the anchors. The depth should match the length of your concrete anchors to ensure a tight fit. Remove all debris from the holes to prepare for anchor insertion.
- Securing the Safe: Insert the concrete anchors into the holes, then position your safe over the anchors. Tighten the anchors according to the manufacturer’s instructions. This usually involves turning the bolt head, which expands the anchor inside the concrete for a solid hold.
Keeping Your Floors Safe While Securing Your Safe
To secure your gun safe without harming your floors, keeping both your valuables and your home in top condition, follow this tips:
- Use Protective Materials: Before drilling, place a protective layer, like a mat or cardboard, under the safe. This prevents scratches and damage to your flooring.
- Choose the Right Tools: Use drill bits and tools suitable for your floor type. This minimizes the risk of accidental damage during installation.
- Clean Up After Drilling: After drilling, clean up any debris immediately. This prevents scratches and keeps your workspace safe.
- Mind the Weight: Consider the safe’s weight and your floor’s capacity. Using a protective pad under the safe can distribute weight and prevent pressure marks or damage.
Avoid These Common Anchoring Mistakes
These are the most common mistakes that people make when bolting safes to the floor. If you want to have a secure, damage-free installation of your gun safe, do not repeat them:
- Skipping the Pilot Hole: Always drill a pilot hole before inserting the bolt. Skipping this step can lead to misaligned bolts or damage to the floor.
- Ignoring Floor Type: Each floor type requires specific bolts and drilling methods. Using the wrong type can damage your floor or result in a less secure safe.
- Over-tightening Bolts: Bolts should be tight, but over-tightening can damage the floor or the safe’s mounting holes. Tighten until secure, then stop.
- Neglecting Leveling: Ensure your safe is level before anchoring. An unlevel safe can lead to operational issues or uneven weight distribution.
Future-Proof Your Gun Safe Installation
Future-proofing your installation means thinking ahead about potential changes to your home, safe, and security needs. This ensures your gun safe remains a steadfast part of your home’s security for years to come.
- Choose a Flexible Location: Pick a spot where your safe can stay long-term, even if your room layout changes. Think about ease of access and visibility.
- Anticipate Floor Changes: If you might change your flooring, consider how this will affect your safe. Use anchoring methods that allow for some flexibility or adjustment.
- Plan for Safe Upgrades: If you might upgrade to a larger safe, anchor in a way that accommodates potential size increases. Leave enough space around the current installation spot.
- Consider Technology Integration: As security technology evolves, your safe might need updates. Choose a location where you can easily add security cameras or alarm systems.
